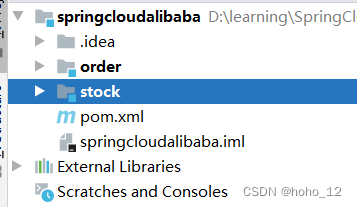
使用idea搭建一个基于springboot的分布式项目。
总体项目目录结构:
 编辑
编辑
父maven项目:添加公共的依赖,pom如下:
<project xmlns="http://maven.apache.org/POM/4.0.0" xmlns:xsi="http://www.w3.org/2001/XMLSchema-instance" xsi:schemaLocation="http://maven.apache.org/POM/4.0.0 https://maven.apache.org/xsd/maven-4.0.0.xsd"> 4.0.0 order stock org.springframework.boot spring-boot-starter-parent 2.3.11.RELEASE com.springcloud.learning springcloudalibaba 0.0.1-SNAPSHOT springcloudalibaba Spring Cloud Alibaba pom 1.8 org.springframework.boot spring-boot-starter org.springframework.boot spring-boot-maven-plugin

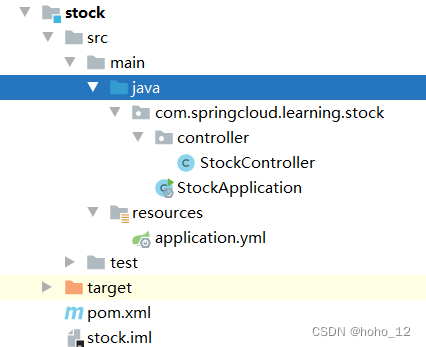
stock : 库存模块
 编辑
编辑
pom : 依赖于父模块,添加自己所需的web模块
<project xmlns="http://maven.apache.org/POM/4.0.0" xmlns:xsi="http://www.w3.org/2001/XMLSchema-instance" xsi:schemaLocation="http://maven.apache.org/POM/4.0.0 http://maven.apache.org/xsd/maven-4.0.0.xsd"> springcloudalibaba com.springcloud.learning 0.0.1-SNAPSHOT 4.0.0 stock org.springframework.boot spring-boot-starter-web

StockController
package com.springcloud.learning.stock.controller; import org.springframework.web.bind.annotation.RequestMapping; import org.springframework.web.bind.annotation.RestController; @RestController @RequestMapping("/stock") public class StockController { @RequestMapping("reduct") public String reduct(){ System.out.println("扣减库存"); return "扣减库存"; } }

StockApplication
package com.springcloud.learning.stock; import org.springframework.boot.SpringApplication; import org.springframework.boot.autoconfigure.SpringBootApplication; @SpringBootApplication public class StockApplication { public static void main(String[] args) { SpringApplication.run(StockApplication.class,args); } }

application.yml : 设置端口
server: port: 8011

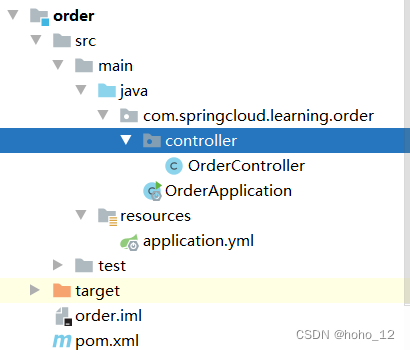
order:订单模块
 编辑
编辑
pom : 依赖于父模块,添加自己所需的web模块。
<project xmlns="http://maven.apache.org/POM/4.0.0" xmlns:xsi="http://www.w3.org/2001/XMLSchema-instance" xsi:schemaLocation="http://maven.apache.org/POM/4.0.0 http://maven.apache.org/xsd/maven-4.0.0.xsd"> springcloudalibaba com.springcloud.learning 0.0.1-SNAPSHOT 4.0.0 order org.springframework.boot spring-boot-starter-web

OrderController
package com.springcloud.learning.order.controller; import org.springframework.beans.factory.annotation.Autowired; import org.springframework.context.annotation.Bean; import org.springframework.web.bind.annotation.RequestMapping; import org.springframework.web.bind.annotation.RestController; import org.springframework.web.client.RestTemplate; @RestController @RequestMapping("/order") public class OrderController { @Autowired private RestTemplate restemplate; @RequestMapping("/add") public String add(){ System.out.println("下单成功!"); String msg = restemplate.getForObject("http://localhost:8011/stock/reduct", String.class); return "Hello World"; } }

OrderApplication
package com.springcloud.learning.order; import org.springframework.boot.SpringApplication; import org.springframework.boot.autoconfigure.SpringBootApplication; import org.springframework.boot.web.client.RestTemplateBuilder; import org.springframework.context.annotation.Bean; import org.springframework.web.client.RestTemplate; @SpringBootApplication public class OrderApplication { public static void main(String[] args) { SpringApplication.run(OrderApplication.class,args); } @Bean public RestTemplate restTemplate(RestTemplateBuilder builder){ RestTemplate restTemplate = builder.build(); return restTemplate; } }

application.yml
server: port: 8010

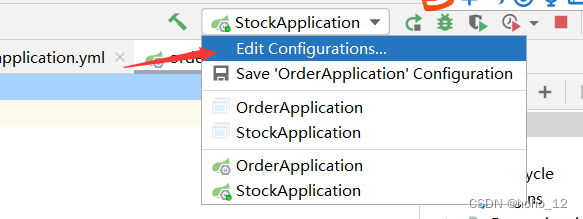
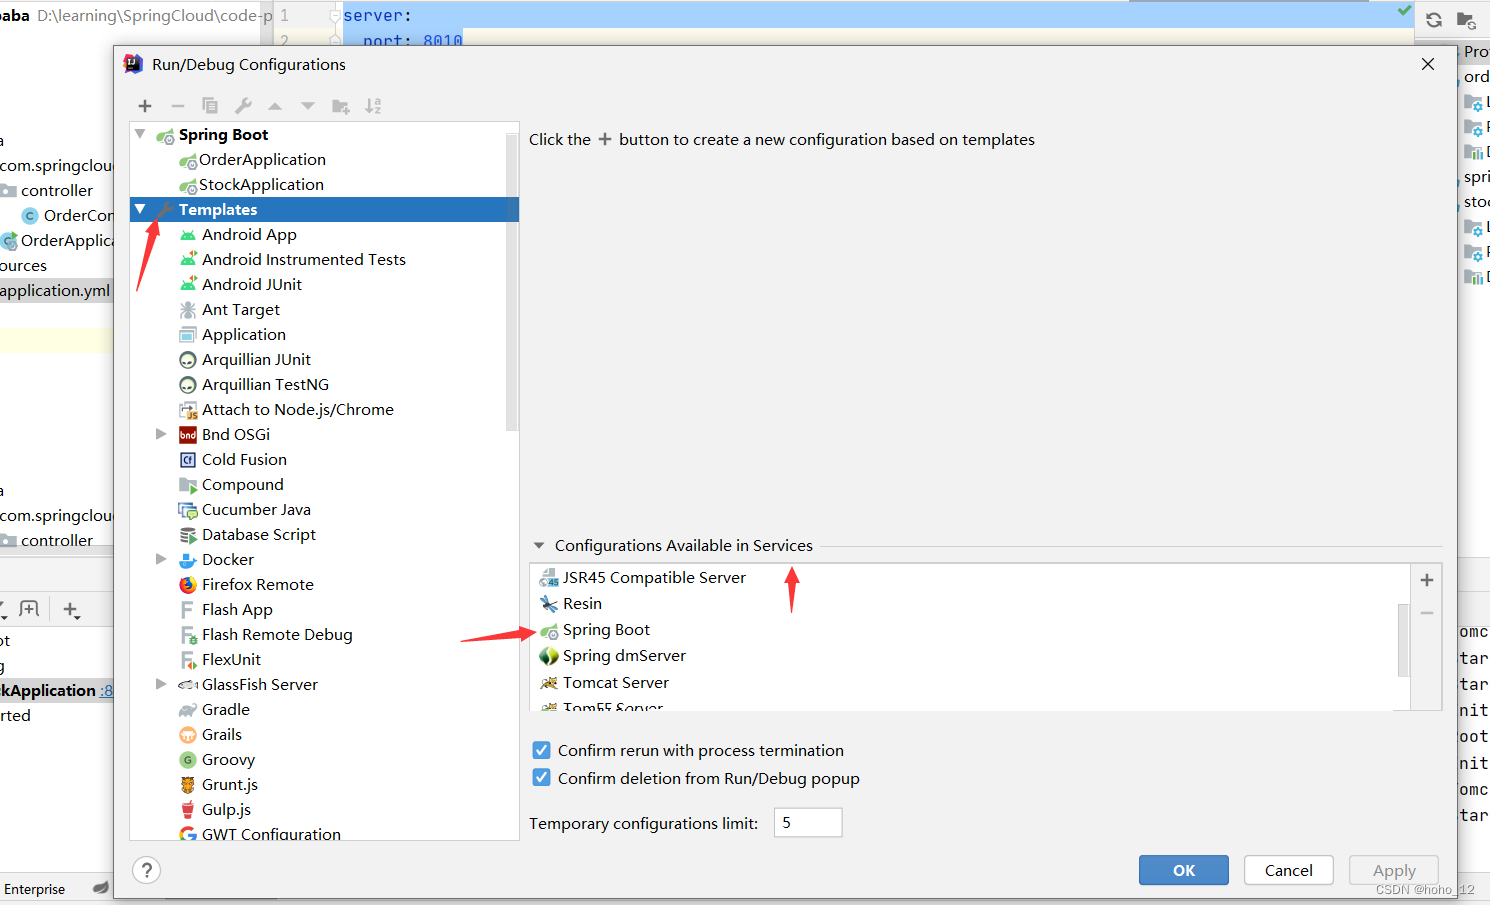
idea 开启多服务启动控制面板:
 编辑
编辑
选择 springboot
 编辑
编辑
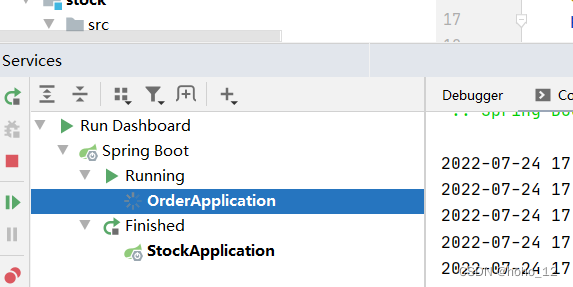
如下图,就能控制多个服务的启动与停止:
 编辑
编辑
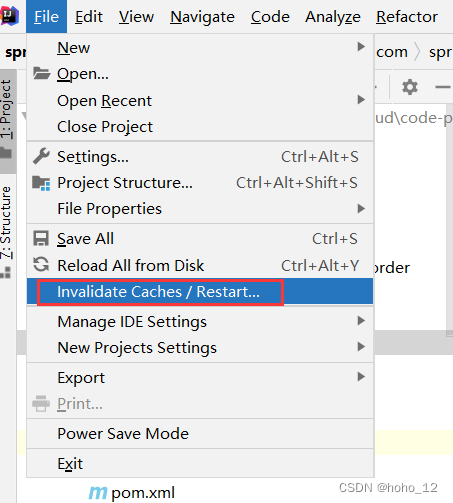
备注: 项目中的maven依赖在打开idea时,总是会飘红,观察到本地maven配置中的settings.xml中有两个mirror地址。默认会使用第一个,但是第一个地址是公司内网地址,在家里不能访问。此时注释掉第一个地址,然后刷新maven依赖,使用如下功能重启idea。
 编辑
编辑
maven项目给了我们便利的同时,使我们从海量的jar配置中解放出来,但是各种各样的依赖下载问题也总是让我们感觉到头疼。
Copyright © 2023 leiyu.cn. All Rights Reserved. 磊宇云计算 版权所有 许可证编号:B1-20233142/B2-20230630 山东磊宇云计算有限公司 鲁ICP备2020045424号
磊宇云计算致力于以最 “绿色节能” 的方式,让每一位上云的客户成为全球绿色节能和降低碳排放的贡献者

