说明:基础环境,所以主机都需要配置
修改主机名
1.server hostnamectl set-hostname zabbix_server01 bash # 或者 ctrl+d 重新登录 2.agent hostnamectl set-hostname zabbix_agent01 bash # 或者 ctrl+d 重新登录
配置host
cat >> /etc/hosts << EOF 192.168.200.5 zabbix_server01 192.168.200.6 zabbix_agent02 EOF
关闭防火墙、selinux
systemctl stop firewalld && systemctl disable firewalld setenforce 0 sed -i 's/^SELINUX=.*/SELINUX=disabled/g' /etc/selinux/config
配置 yum
# 清除默认yum rm -rf /etc/yum.repos.d/* # 磊宇云 centos7 yum curl -o /etc/yum.repos.d/CentOS-Base.repo https://mirrors.leiyu.cn/repo/Centos-7.repo #nginx yum cat > /etc/yum.repos.d/nginx.repo << EOF [nginx] name=nginx baseurl=https://nginx.org/packages/centos/7/x86_64/ gpgcheck=0 enabled=1 EOF #mariadb yum cat > /etc/yum.repos.d/mariadb.repo <<EOF [mariadb] name=mariadb baseurl=https://mirrors.tuna.tsinghua.edu.cn/mariadb/mariadb-10.5.19/yum/centos/7/x86_64/ gpgcheck=0 enabled=1 EOF #php yum yum -y install epel-release curl -o /etc/yum.repos.d/epel.repo https://mirrors.leiyu.cn/repo/epel-7.repo rpm -Uvh https://mirror.webtatic.com/yum/el7/webtatic-release.rpm 1、如下: [root@zabbix_server01 ~]# ll /etc/yum.repos.d/ total 32 -rw-r--r-- 1 root root 1759 Mar 2 09:54 CentOS-Base.repo -rw-r--r-- 1 root root 664 Mar 19 16:10 epel.repo -rw-r--r-- 1 root root 1050 Oct 3 2017 epel-testing.repo -rw-r--r-- 1 root root 134 Mar 19 16:08 mariadb.repo -rw-r--r-- 1 root root 92 Mar 19 16:08 nginx.repo -rw-r--r-- 1 root root 963 Oct 9 2014 webtatic-archive.repo -rw-r--r-- 1 root root 865 Oct 9 2014 webtatic.repo -rw-r--r-- 1 root root 963 Oct 9 2014 webtatic-testing.repo
时间同步
yum install -y ntpdate ntpdate ntp1.leiyu.cn
说明:这里我们只在 zabbix_server01 主机节点操作
1、安装
yum install nginx -y
2、配置
vim /etc/nginx/conf.d/default.conf server { listen 80; server_name localhost; #access_log /var/log/nginx/host.access.log main; location / { root /usr/share/nginx/html; ## 可以修改前端页面代码路径 index index.html index.htm index.php; ## 添加 index.php ,使得默认可以识别 index.php 文件 } # 取消这里的注释,并修改 location ~ \.php$ { root /usr/share/nginx/html; # 修改 和上面的前端页面代码路径一致 fastcgi_pass 127.0.0.1:9000; # 9000是 php-fpm 的进程,而 php 文件都需要交给 php-fpm 处理 fastcgi_index index.php; # fastcgi_param SCRIPT_FILENAME /scripts$fastcgi_script_name; 使用这个会找不到 文件 “ File Not Found ” fastcgi_param SCRIPT_FILENAME $document_root$fastcgi_script_name; include fastcgi_params; }
3、启动
systemctl enable nginx systemctl start nginx netstat -ntpul | grep 80
4、浏览器测试
1、安装
yum install php72w-cli php72w-fpm php72w-ldap php72w-mbstring php72w-xml php72w-common php72w-bcmath php72w-gd php72w-ldap php72w-mysqlnd mod_php72w -y
2、配置
vim /etc/php-fpm.d/www.conf # 修改用户和组为nginx user = nginx ; RPM: Keep a group allowed to write in log dir. group = nginx
3、编写 info.php 测试文件
cat > /usr/share/nginx/html/info.php << EOF <?php phpinfo(); ?> EOF
4、启动
systemctl enable php-fpm systemctl start php-fpm netstat -ntpul | grep 9000
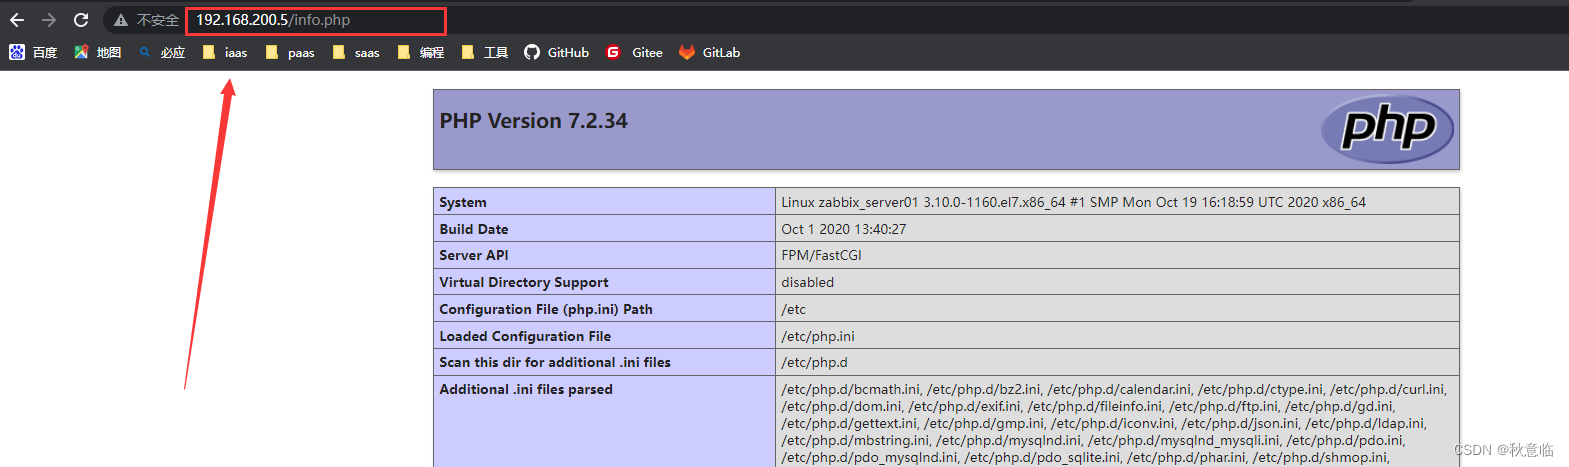
5、浏览器测试
注意路径需填写到 info.php
注意:数据库有版本要求,需要10.5及以上
1、安装
yum install mariadb-server -y
2、启动
systemctl enable mariadb systemctl start mariadb
3、初始化
$ mysql_secure_installation Enter current password for root (enter for none): # 默认回车 Switch to unix_socket authentication [Y/n] n # 输入n Change the root password? [Y/n] y # 输入y New password: # # 输入密码 Re-enter new password: # 确认密码 Remove anonymous users? [Y/n] y # 输入y Disallow root login remotely? [Y/n] n # 输入n Remove test database and access to it? [Y/n] y # 输入y Reload privilege tables now? [Y/n] y # 输入y
4、创建数据库、用户、给 zabbix 数据库授予权限、导入 zabbix 数据表
注意:zabbix 数据表在源码中,上传你所下载的源码到 zabbix_server01 主机
# 进入 mariadb 数据库 $ mysql -uroot -p000000 1. 创建数据库要指定字符集 create database zabbix charset utf8 collate utf8_bin; 2. 创建zabbix用户、并给予操作 zabbix 数据库的权限 grant all on zabbix.* to 'zabbix'@'localhost' identified by 'zabbix'; grant all on zabbix.* to 'zabbix'@'%' identified by 'zabbix'; 3、解压 zabbix 源码包 tar -xf zabbix-6.0.14.tar.gz cd zabbix-6.0.14/database/mysql/ 4、导入 zabbix 数据库的数据表 mysql -uroot -p000000 zabbix < schema.sql mysql -uroot -p000000 zabbix < images.sql mysql -uroot -p000000 zabbix < data.sql mysql -uroot -p000000 zabbix < double.sql mysql -uroot -p000000 zabbix < history_pk_prepare.sql 5、查看 zabbix 数据库是否存在表、及表中是否有数据 mysql -uroot -p000000 -e "use zabbix; show tables; select * from widget_field;"
5、启动
systemctl enable mariadb && systemctl start mariadb netstat -ntpul | grep 3306
注意:在zabbix_server 主机上执行
1、安装依赖
yum install mysql-devel pcre-devel openssl devel zlib-devel libxml2-devel net-snmp-devel net-snmp libssh2-devel OpenIPMI-devel libevent-devel openldap-devel libcurl-devel gcc -y
2、配置环境变量
不配置下列变量,编译会报错,大概就是gcc版本问题,详细信息请跳转
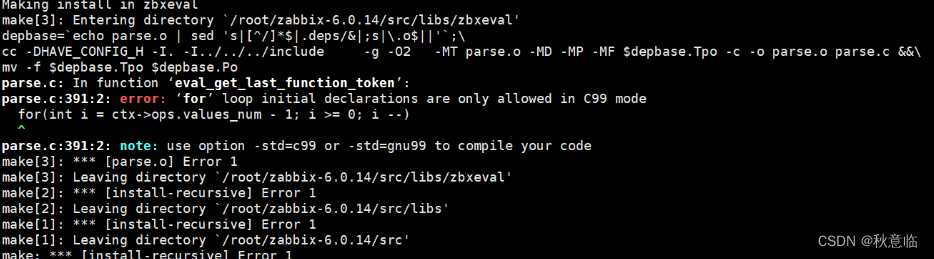
cat >> /etc/profile << EOF export CFLAGS="-std=gnu99" EOF source /etc/profile
3、编译安装
cd zabbix-6.0.14 ./configure --sysconfdir=/etc/zabbix/ --enable-server --with-mysql --with-net-snmp --with-libxml2 --with-ssh2 --with-openipmi --with-zlib --with-libpthread --with-libevent --with-ldap --with-openssl --with-libcurl --with-ibpcre make install #检测上一条命令是否执行成功,如果输出0 代表成功,否则失败 echo $?
4、配置 zabbix_server.conf
注意:修改日志文件路径后,注意修改用户和组的权限为 zabbix ,如: chown zabbix.zabbix /var/log/zabbix/
$ egrep -nv '^$|#' /etc/zabbix/zabbix_server.conf 13:ListenPort=10051 39:LogFile=/tmp/zabbix_server.log # 建议修改 日志文件路径为:/var/log/zabbix/zabbix_server.log 89:DBHost=localhost 101:DBName=zabbix # 确保和自己数据一致 117:DBUser=zabbix # 确保和自己数据一致 126:DBPassword=zabbix # 确保和自己数据一致 510:Timeout=4 596:LogSlowQueries=3000 711:StatsAllowedIP=127.0.0.1
5、zabbix_server 命令启动
注意:如果这里启动失败,注意去看 zabbix_server.log 日志文件
# -s:用户以什么shell环境执行 /sbin/nologin : 用户无法登录系统,但可以使用系统资源 -M: 不创建家目录 useradd -s /sbin/nologin -M zabbix zabbix_server netstat -ntplu|grep 10051 ps -ef|grep zabbix # 停止 zabbix_server kill 26376 # zabbix_server 的 PID
6、配置 systemctl 命令启动 zabbix_server
#书写systemctl配置文件 cat > /usr/lib/systemd/system/zabbix-server.service <<EOF [Unit] Description=Zabbix Server After=syslog.target After=network.target [Service] Environment="CONFFILE=/etc/zabbix/zabbix_server.conf" EnvironmentFile=-/etc/zabbix Type=forking PIDFile=/tmp/zabbix_server.pid ExecStart=/usr/local/sbin/zabbix_server -c /etc/zabbix/zabbix_server.conf ExecStop=/usr/bin/kill $MAINPID Restart=always RestartSec=5 User=zabbix Group=zabbix [Install] WantedBy=multi-user.target EOF systemctl enable zabbix-server && systemctl start zabbix-server netstat -ntplu|grep 10051 ps -ef|grep zabbix
复制 zabbix 源码包中 ui 目录下得 php 前端页面,到 nginx web页面得工作目录下
cp -r /root/zabbix-6.0.14/ui/* /usr/share/nginx/html/ # 修改用户和组权限,使得 nginx 可以访问 chown -R nginx.nginx /usr/share/nginx/html/ systemctl restart nginx
浏览器访问,就可以看到 zabbix_ui 页面:
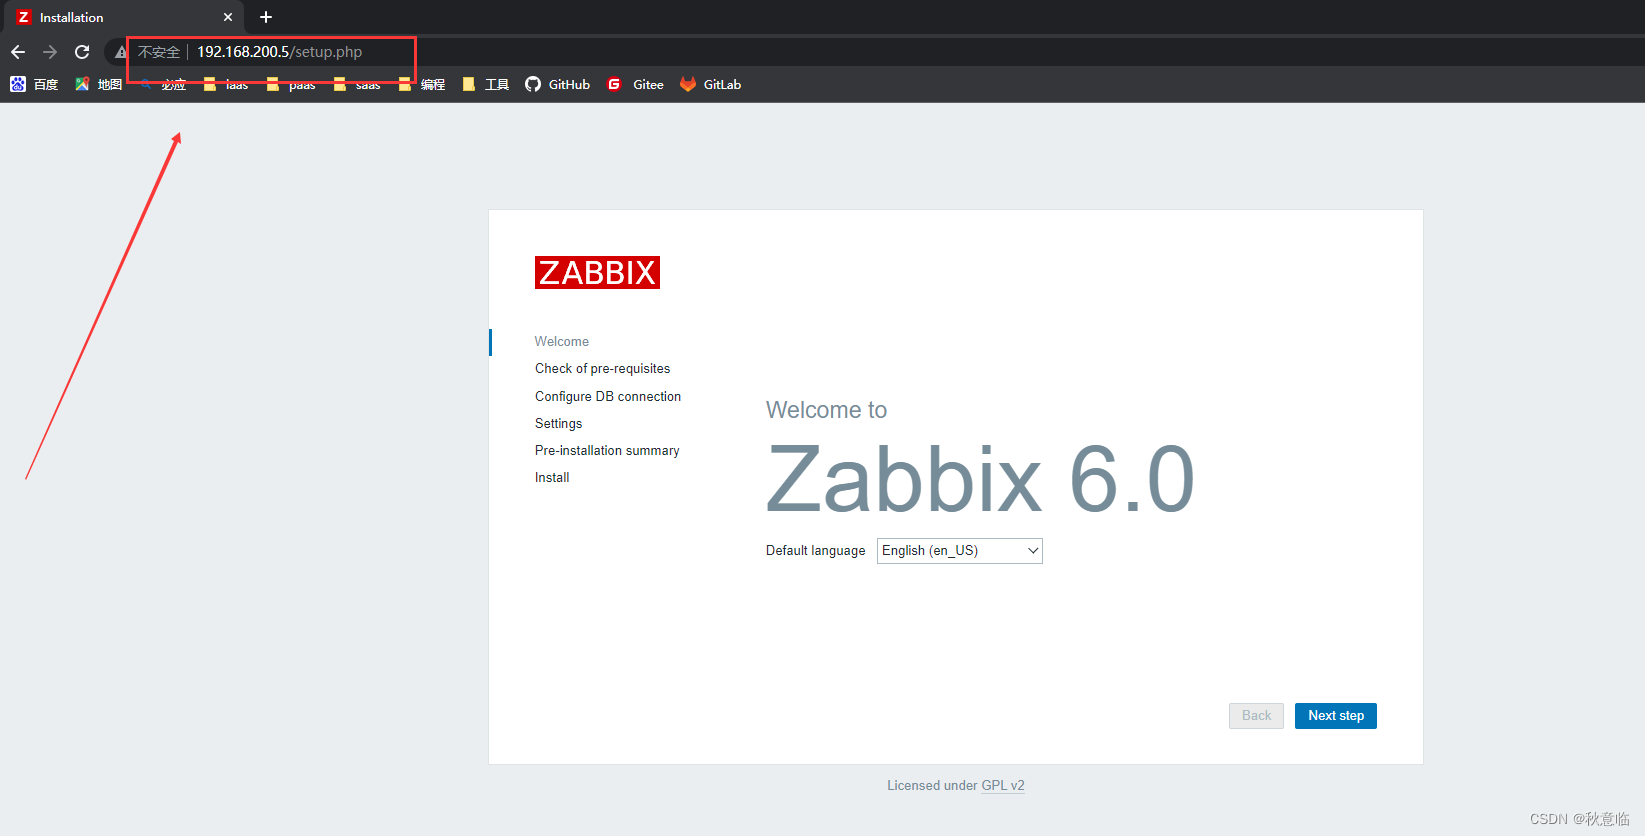
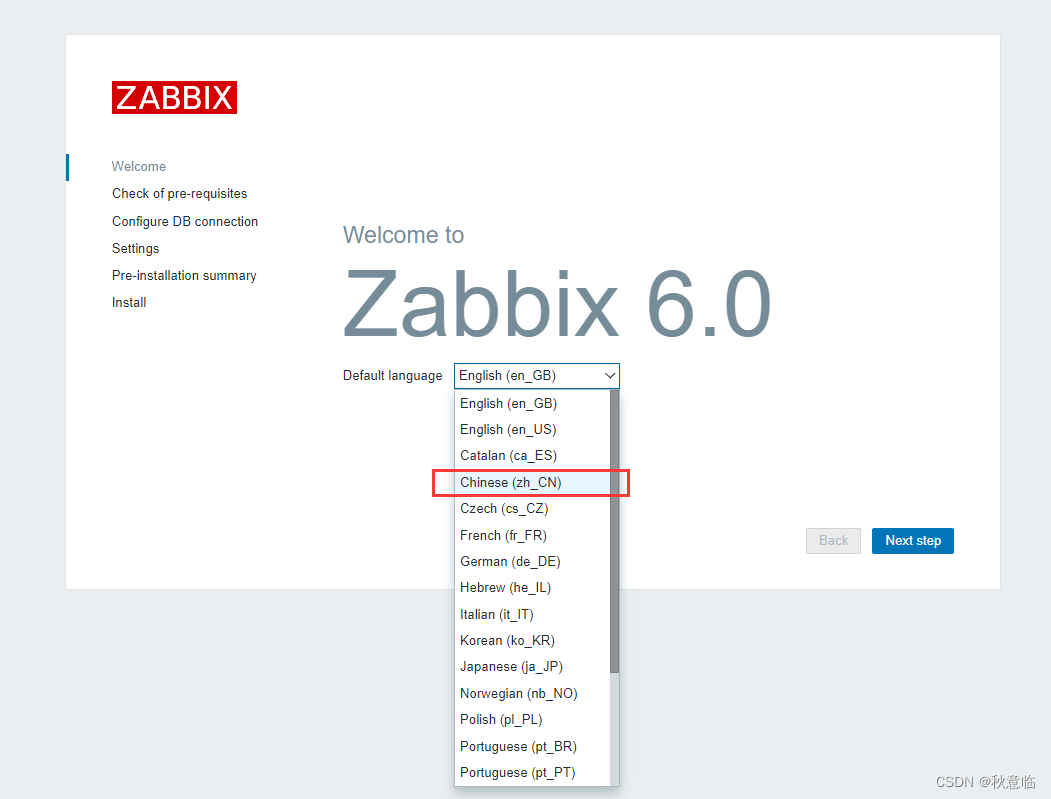
1、语言选择中文后,点击下一步
2、这里条件检测发现出现三个失败,这里不要慌,只需要修改 php.ini 配置文件达到对应的要求即可,要求如图:
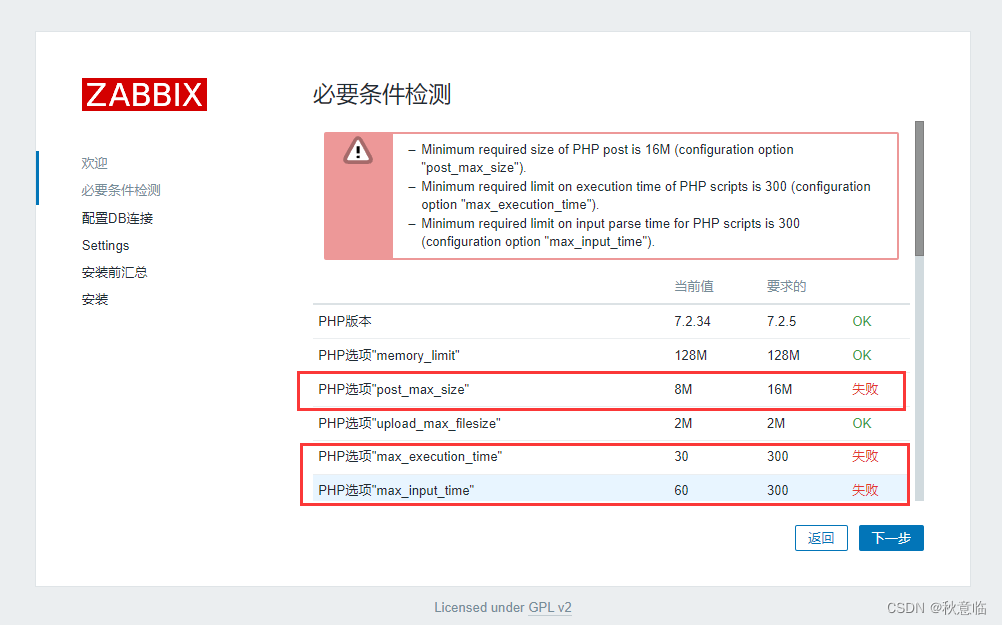
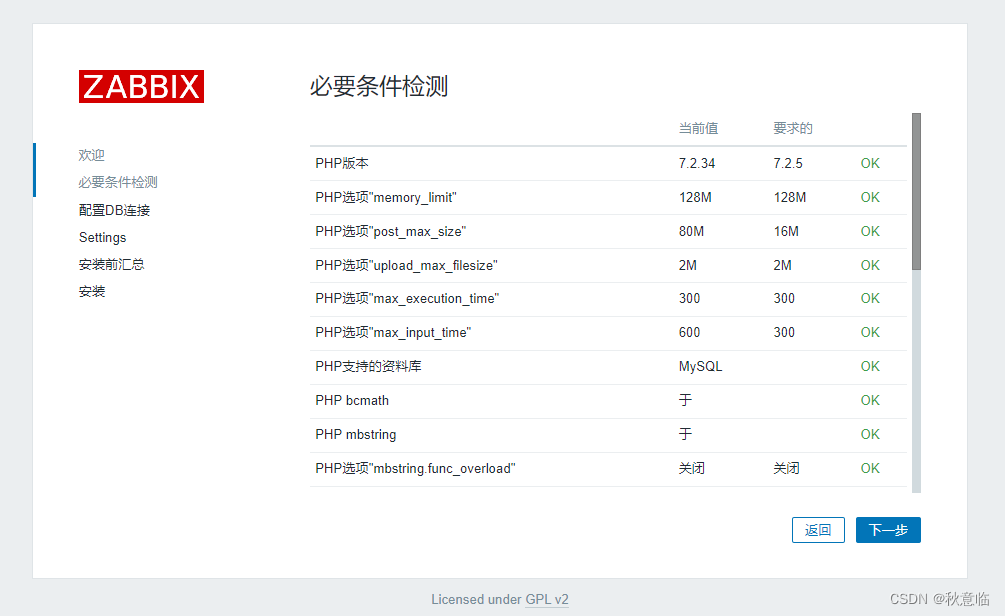
1.修改对应的值 $ egrep 'post_max.*|.*_time' /etc/php.ini ; max_input_time max_execution_time = 300 max_input_time = 600 post_max_size = 80M default_socket_timeout = 60 ;oci8.persistent_timeout = -1 2.重启 php-fpm,再次访问即可 $ systemctl restart php-fpm
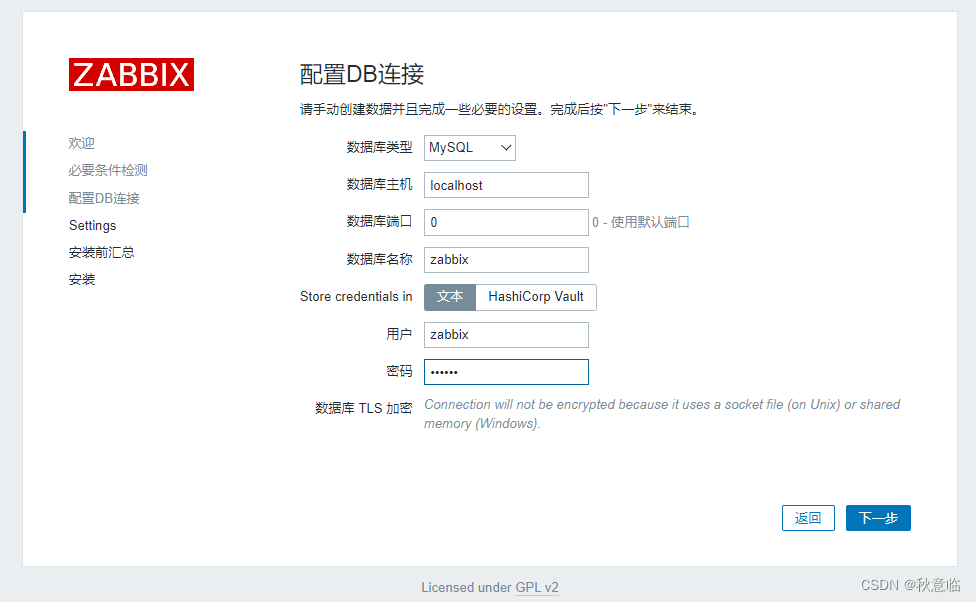
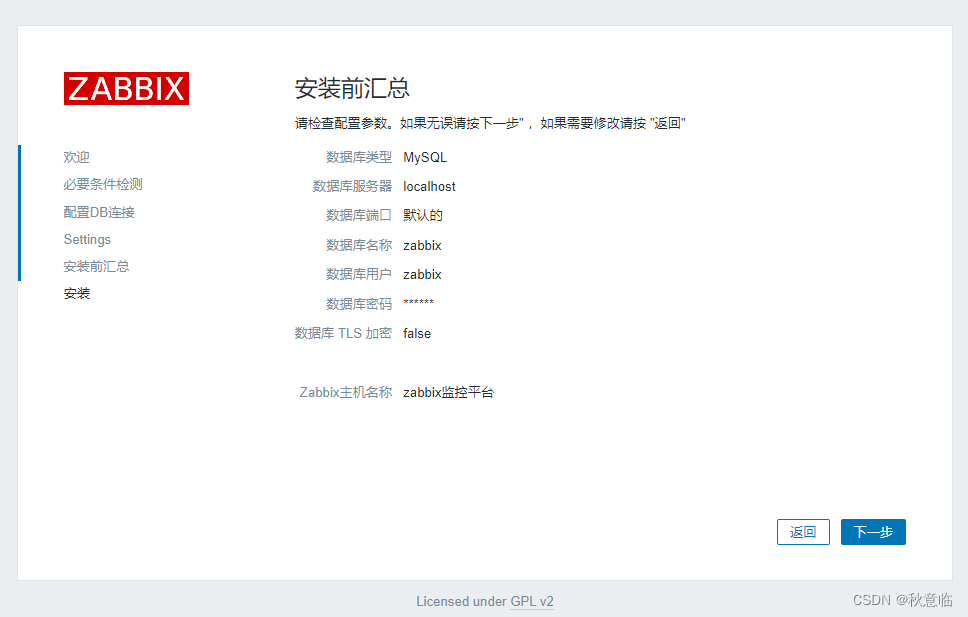
3、连接 DB
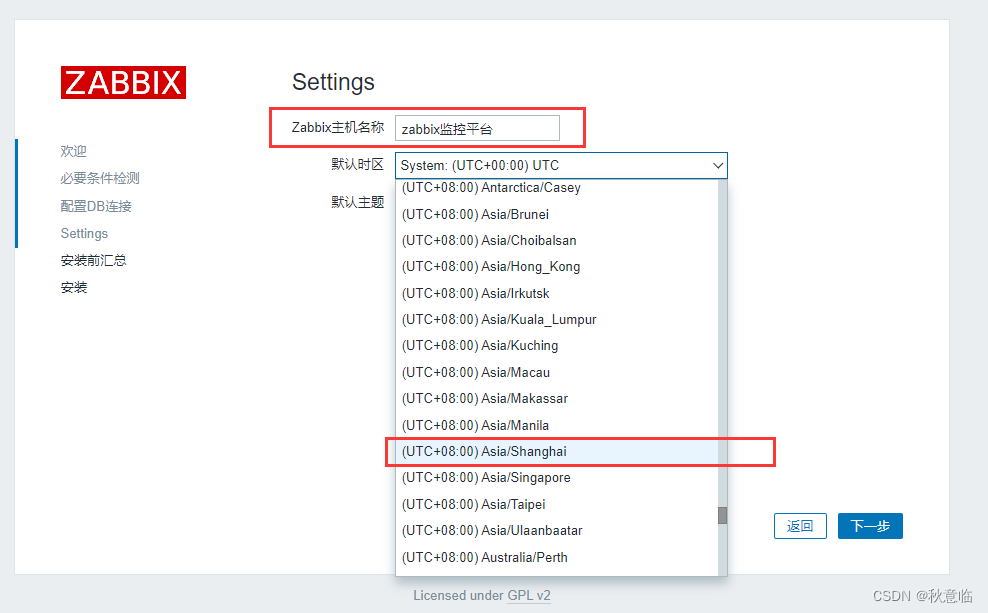
4、设置主页信息,选择时区(上海),主题
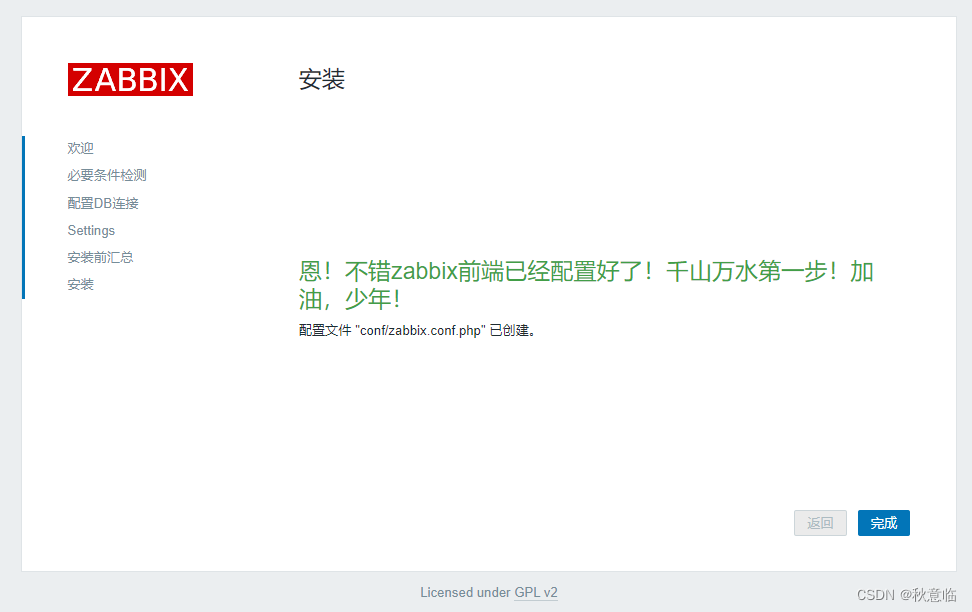
5、安装
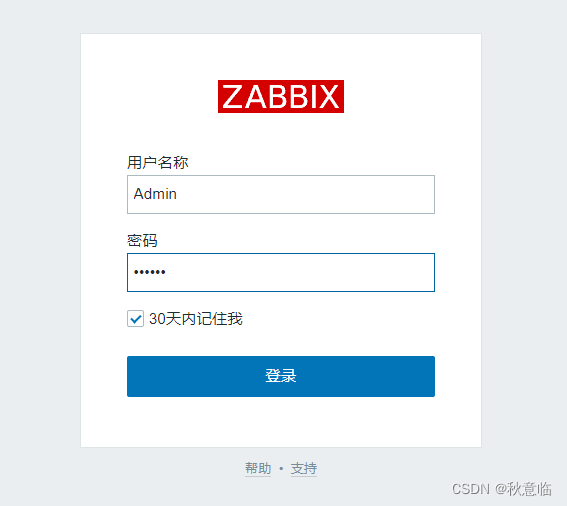
1、默认用户名称和密码:
用户名称:Admin
密码:zabbix
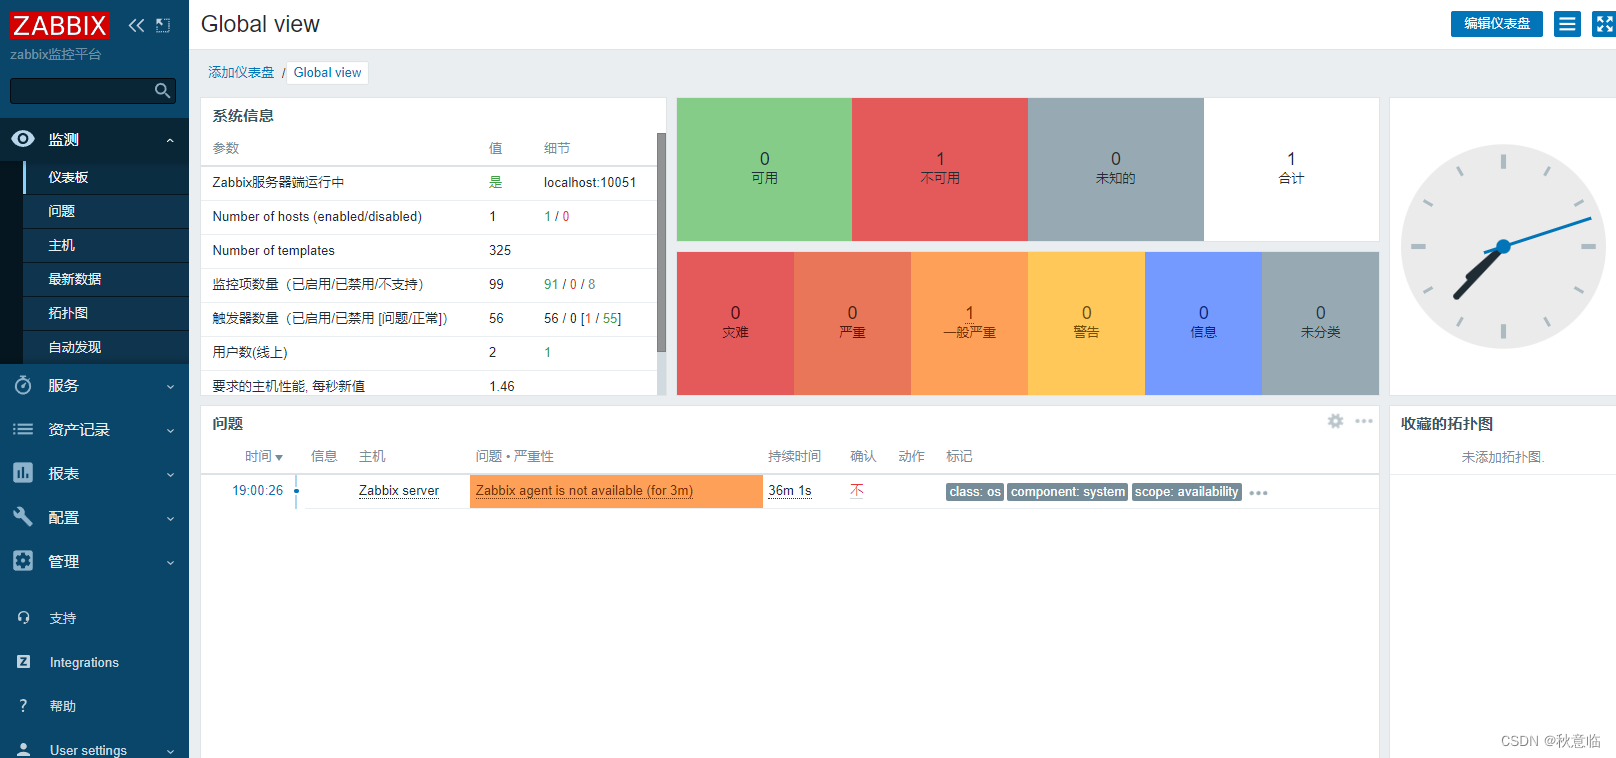
2、 恭喜您到这里我们 zabbix-6.0 就全部按照完成了
我们通过监控,可以看到页面中存在一个一般严重的问题,问题是 zabbix_server 主机的 agent 不可用,不要慌,因为我们根本没有安装,安装配置 agent 我们将在下一章说明。
我是秋意临,欢迎大家一键三连、加入云社区
我们下期再见(⊙o⊙)!!!
Copyright © 2023 leiyu.cn. All Rights Reserved. 磊宇云计算 版权所有 许可证编号:B1-20233142/B2-20230630 山东磊宇云计算有限公司 鲁ICP备2020045424号
磊宇云计算致力于以最 “绿色节能” 的方式,让每一位上云的客户成为全球绿色节能和降低碳排放的贡献者

